January 15, 2025
Varnish Finish: How We Achieve a Glass-Like Shine on Our Epoxy Tables
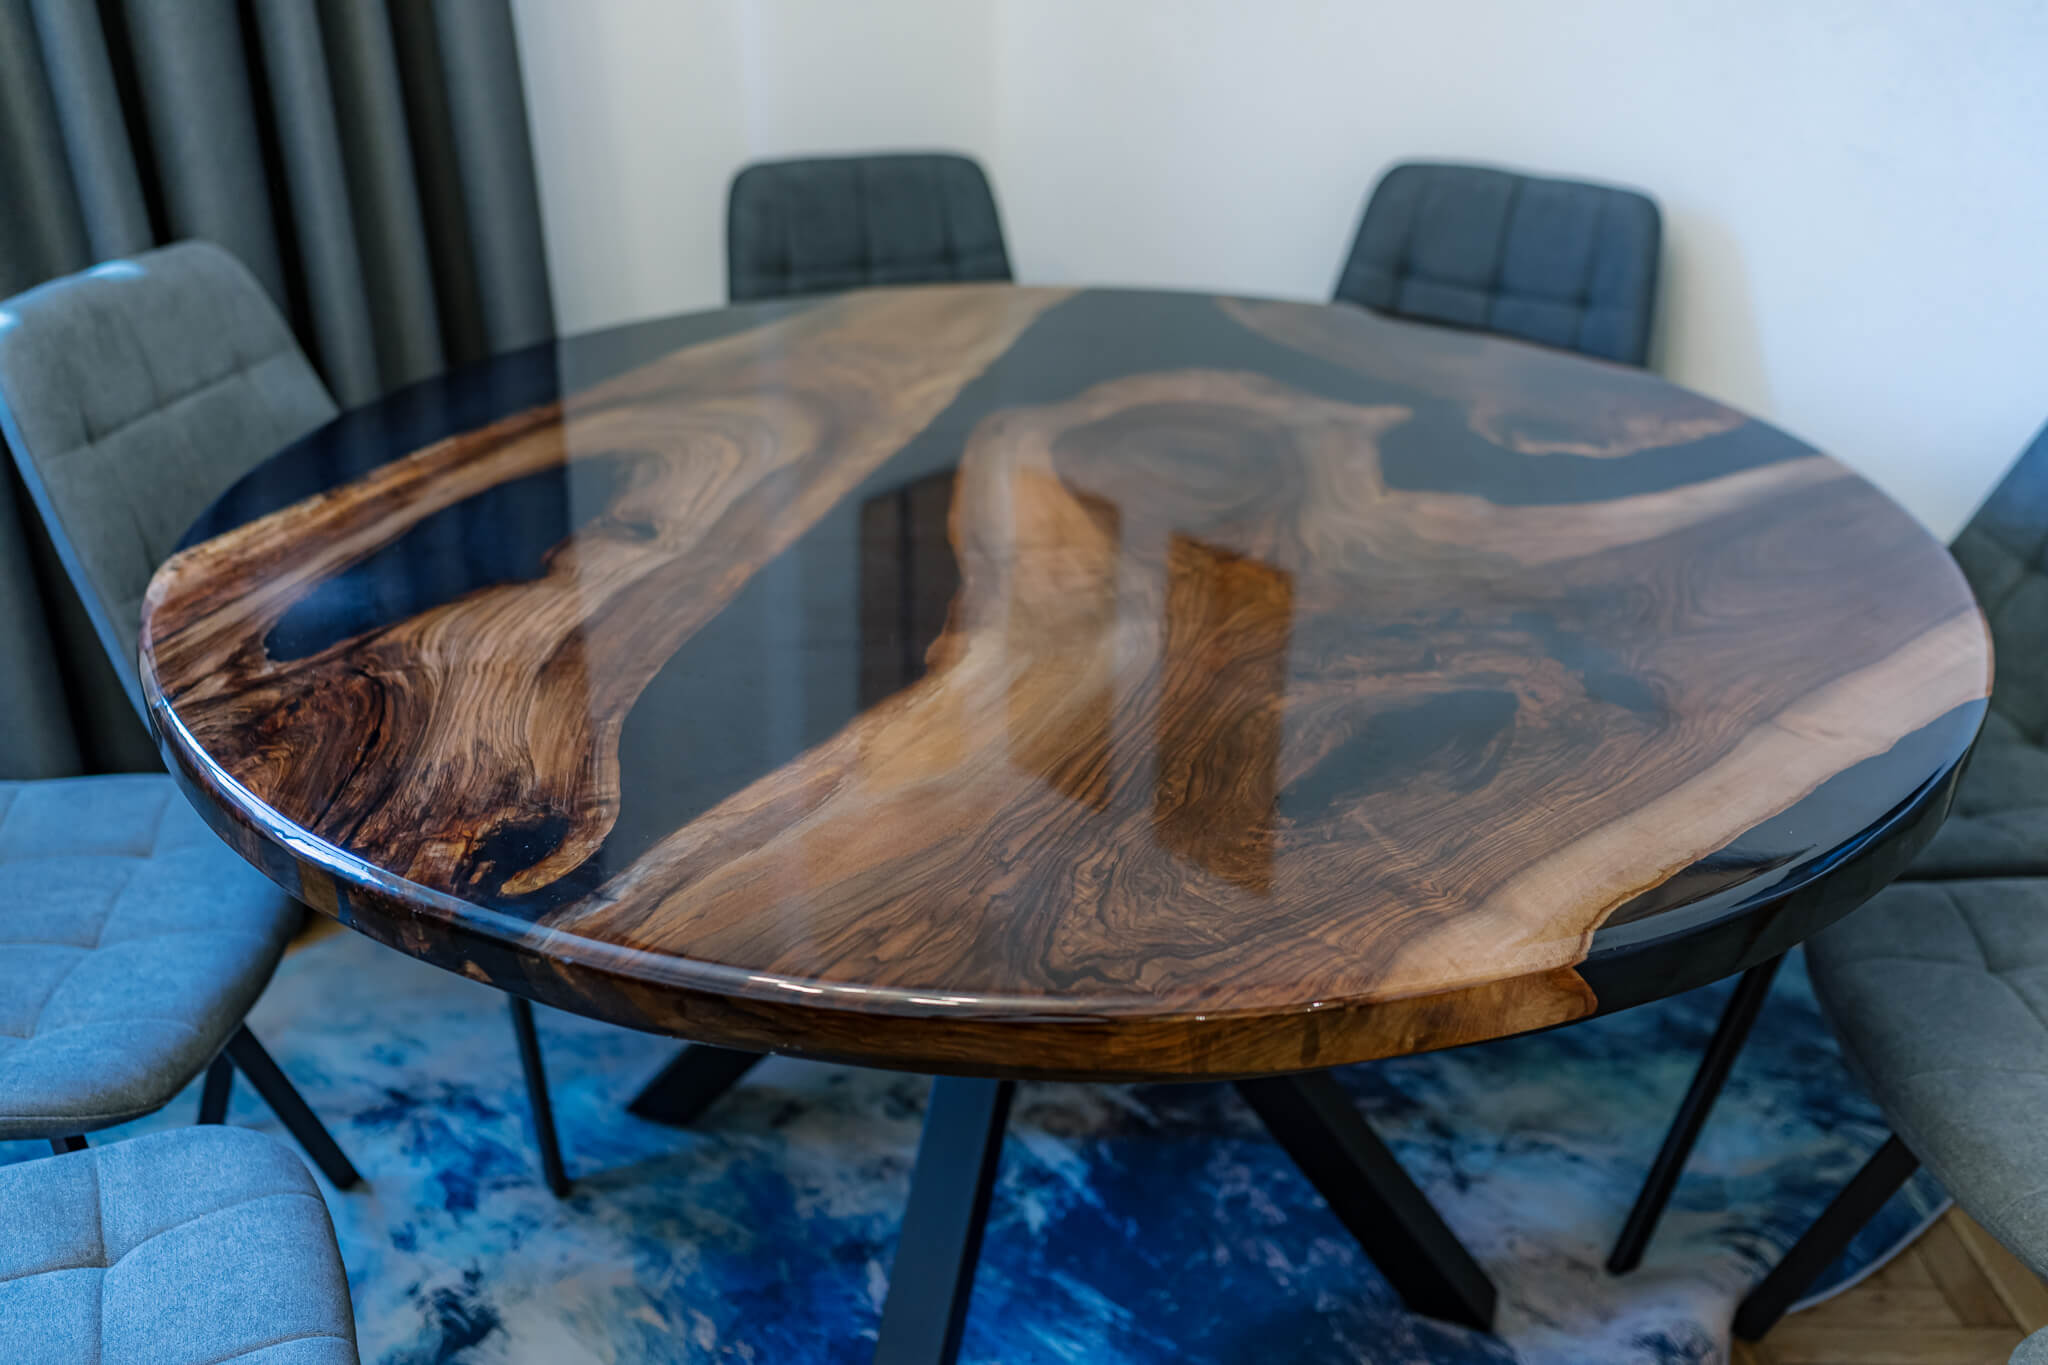
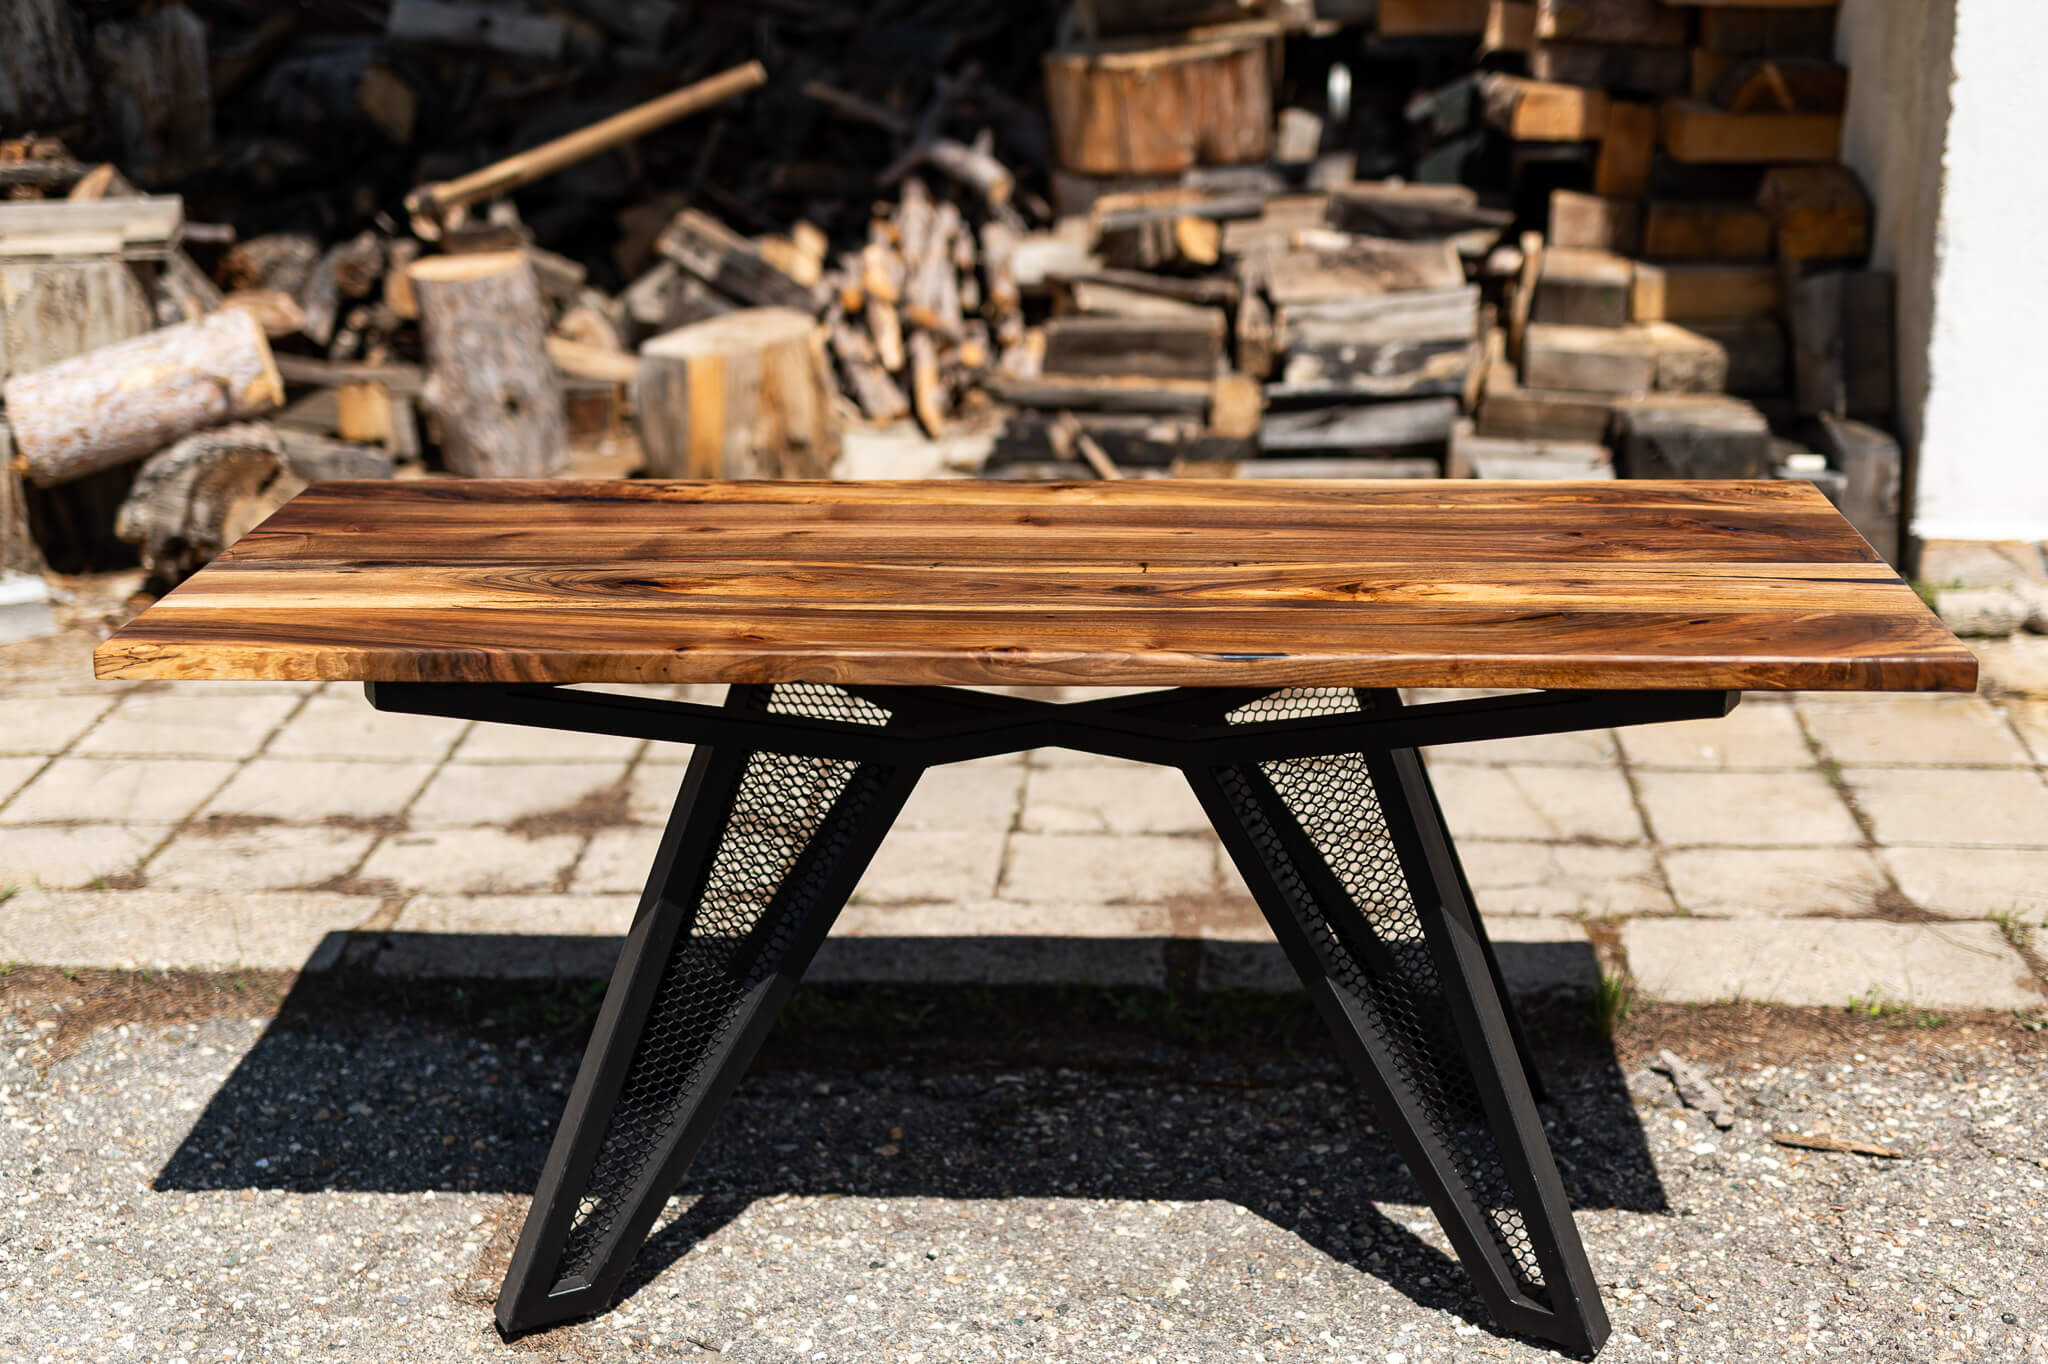
Varnish finish is one of the most effective ways to protect and enhance epoxy and wood surfaces. At Pigtail Studio, we use a professional-grade varnish spray system to create a durable, ultra-glossy finish on our custom epoxy tables—whether it’s a full epoxy top, a mix of wood and resin, or a clear epoxy overlay. The result? A table so smooth and reflective, you can see your face in it.
Our Step-by-Step Varnish Finishing Process
Every varnish finish at Pigtail Studio follows a precise, high-quality process to guarantee flawless results:
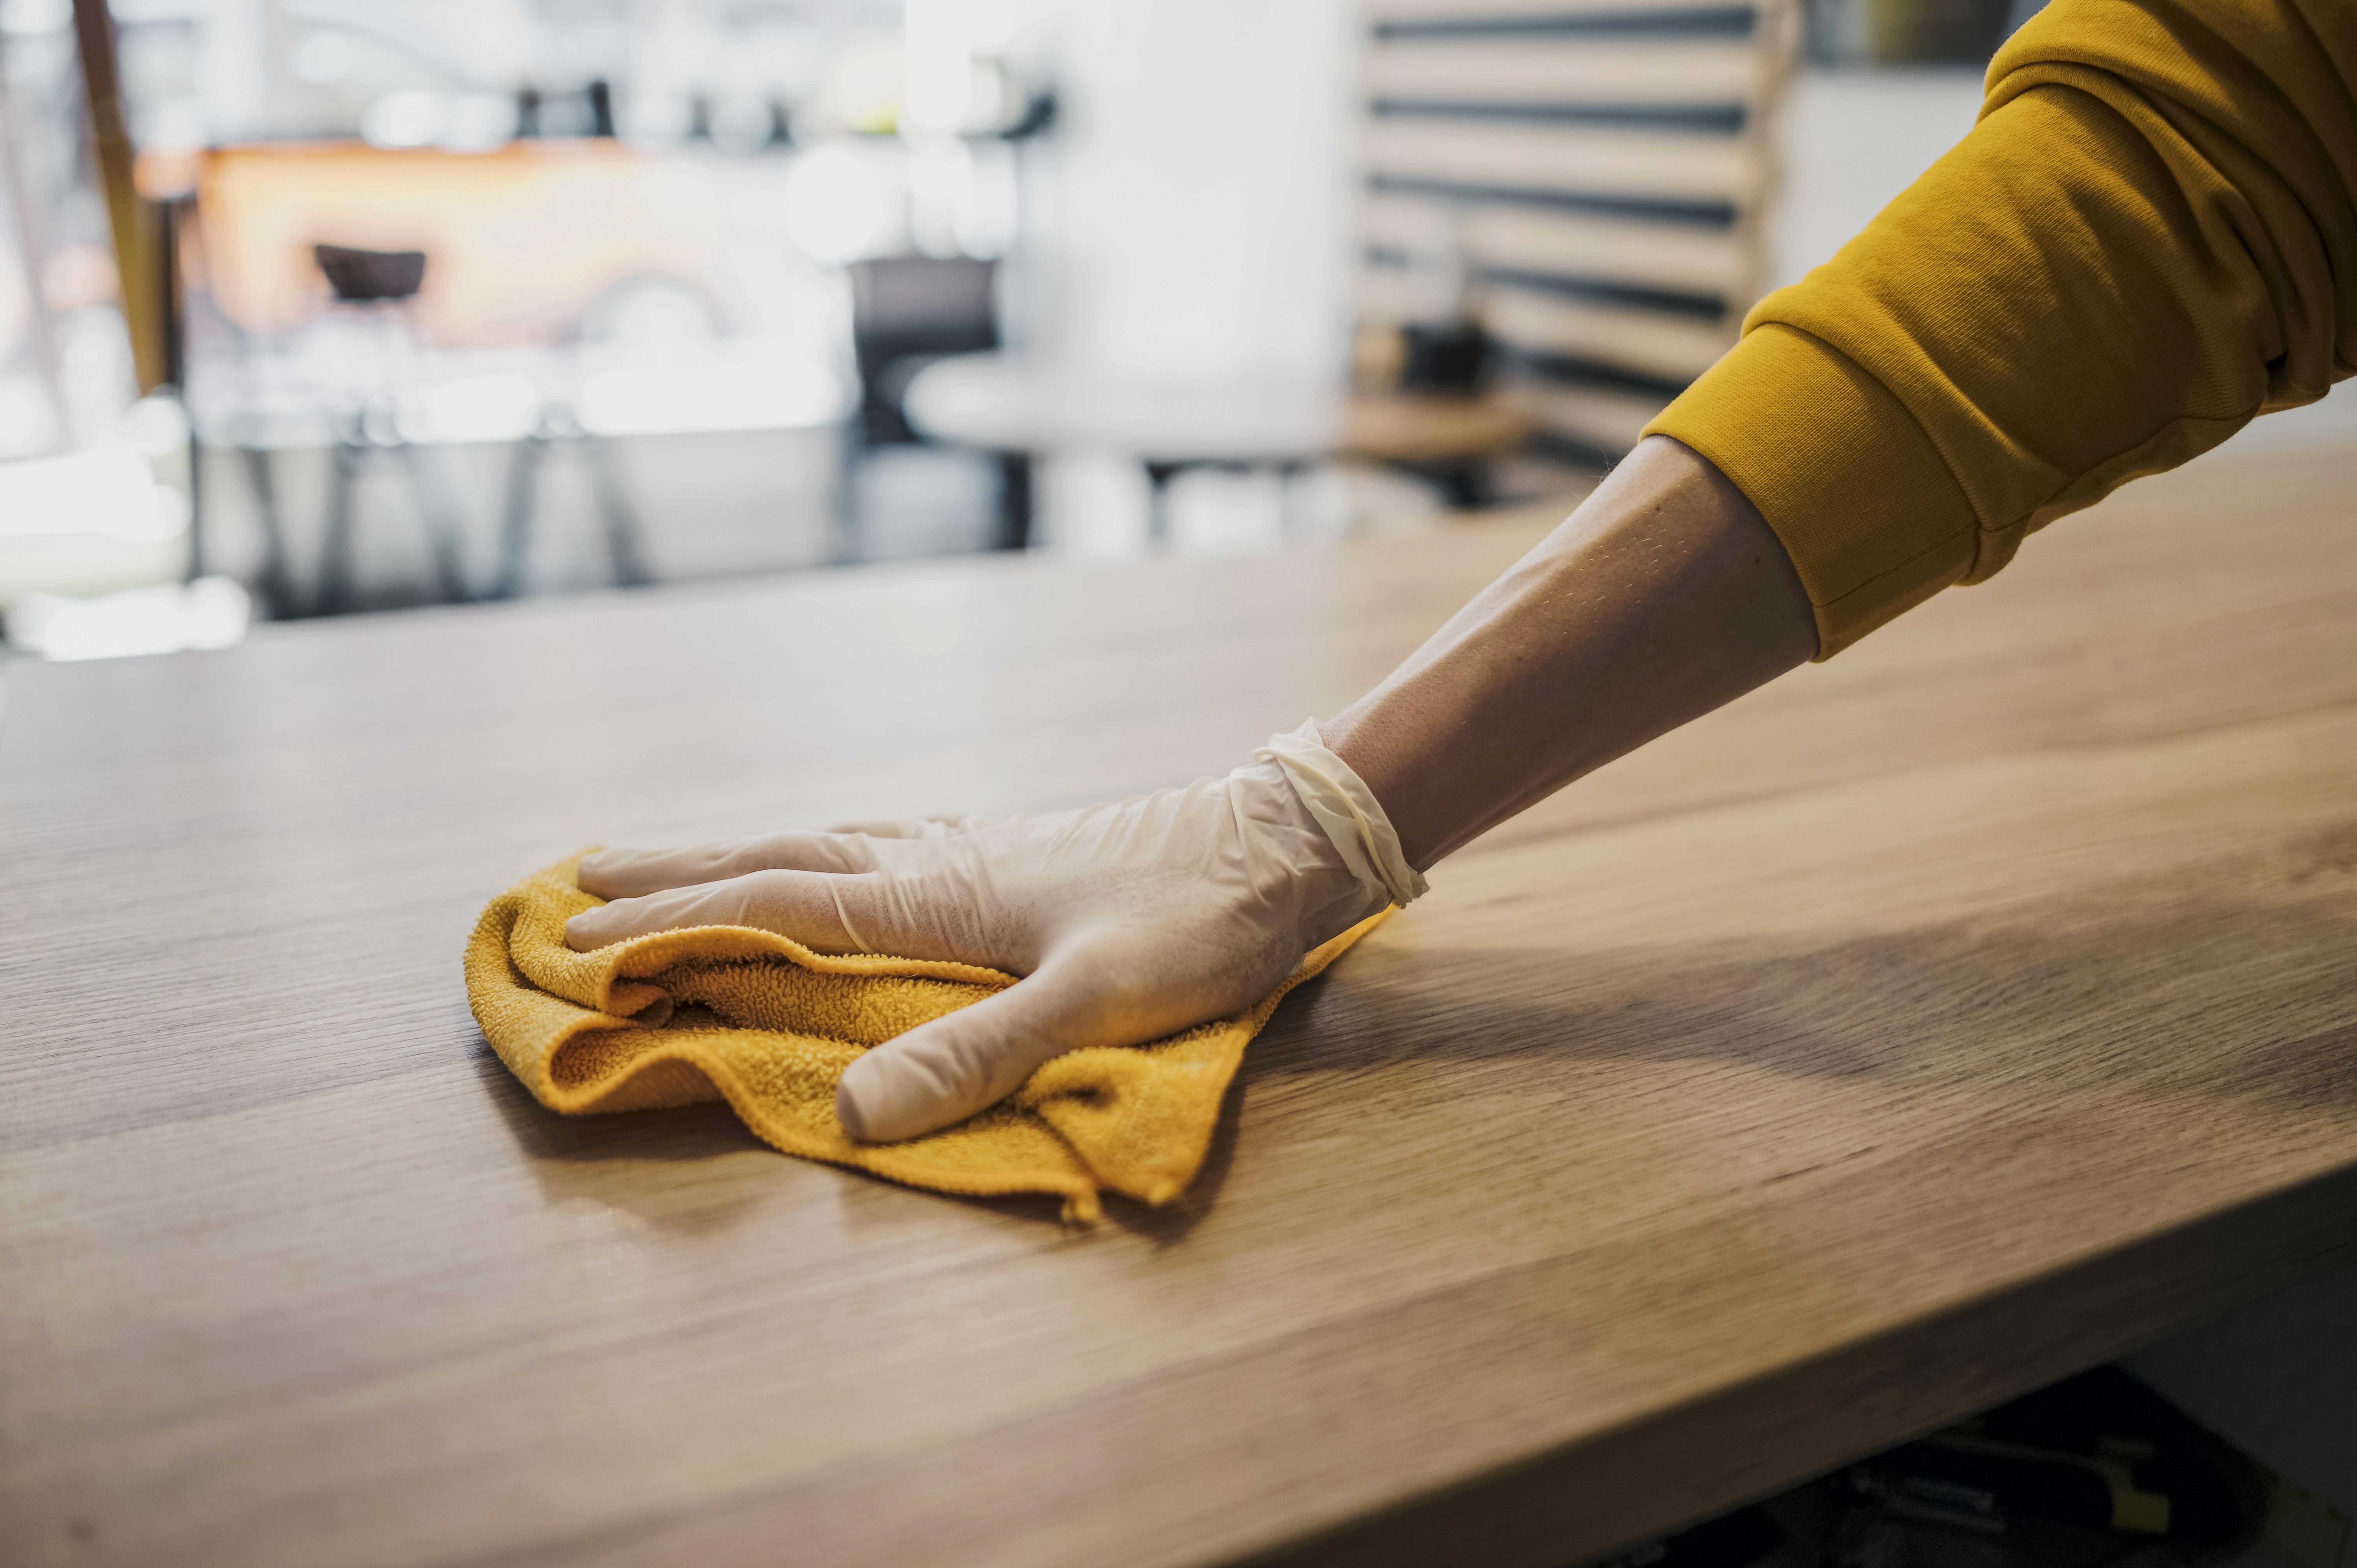
- Step 1: Final Surface Prep – Before applying varnish, we sand the entire table up to 800 grit, ensuring the surface is smooth and ready to accept the coating.
- Step 2: Dust-Free Environment – We work in a special dust-free spray room designed to eliminate airborne particles. This is essential for preventing debris from landing on the wet varnish and creating imperfections.
- Step 3: Compressed Air Setup – We use professional compressed air systems set between 2.0 and 2.5 bar (approx. 29–36 psi) to atomize the varnish correctly. This pressure ensures a fine mist that distributes the varnish evenly without runs or orange peel texture.
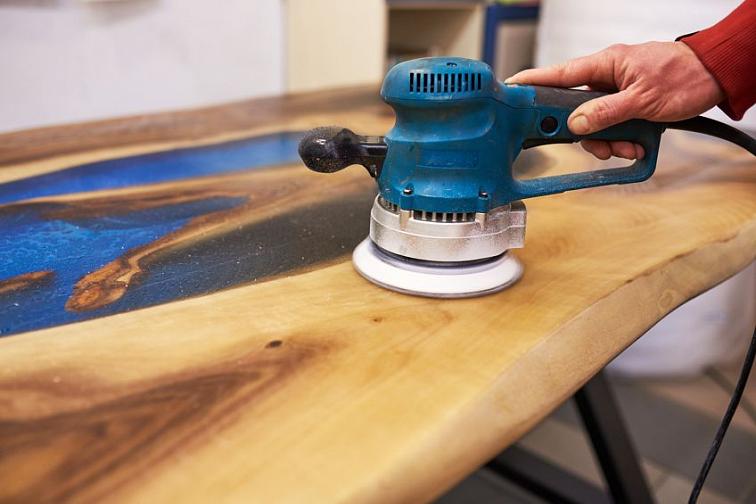
- Step 4: Spray Gun & Varnish – We apply three coats of high-quality polyurethane varnish to each side of the table using an HVLP spray gun. Between each coat, the table is allowed to dry completely and is lightly sanded with fine wet/dry sandpaper (2000–4000 grit) to remove any raised fibers or dust nibs.
Polishing to Perfection
After the final coat of varnish has cured, we begin a three-level polishing process to bring out a deep, mirror-like gloss:
- Polish Level 1 – Removes microscopic imperfections and hazing
- Polish Level 2 – Enhances clarity and smoothness
- Polish Level 3 – Delivers the final high-gloss, reflective shine
Each polish is applied using a rotary buffer with a soft pad and performed in a circular motion. The combination of sanding and polishing results in a surface so clear you can see the depth of the epoxy—and even your own reflection.
Varnish Finish Tips & Tricks
Here are some insider tips for anyone looking to do a professional varnish finish on an epoxy table:
- Use the Right Spray Gun: An HVLP (High Volume Low Pressure) spray gun provides better control and less overspray. Make sure it’s clean and properly adjusted.
- Control the Environment: A dust-free spray booth is crucial. Even a small particle can ruin a perfect coat. Use air filtration and positive pressure to keep dust out.
- Check Air Pressure: Keep your compressor regulated around 2.0–2.5 bar (29–36 psi). Too high and you risk overspray; too low and the varnish won’t atomize evenly.
- Spray Technique: Maintain a consistent distance (15–20 cm) from the surface. Use smooth, overlapping strokes to prevent streaks and buildup.
- Allow Proper Curing: Let each coat cure fully before sanding or applying the next. Rushing can cause cloudiness, bubbling, or soft finishes.
- Use Wet Sandpaper: For sanding between coats and before polishing, use water and high-grit sandpaper (2000–4000 grit) to keep scratches minimal and the surface cool.
- Lighting Helps: Use strong side lighting to spot imperfections before and after spraying. This makes it easier to get a perfect result.
Final Thoughts
At Pigtail Studio, our varnish finishing process is the result of years of testing, experience, and love for the craft. From our precision sanding and dust-free room to expert spraying and polishing, every detail matters. This is why our customers get a finish that’s not just protective—but stunning.
If you're interested in a custom epoxy table with a flawless varnish finish, contact us here to begin your project.