January 15, 2025
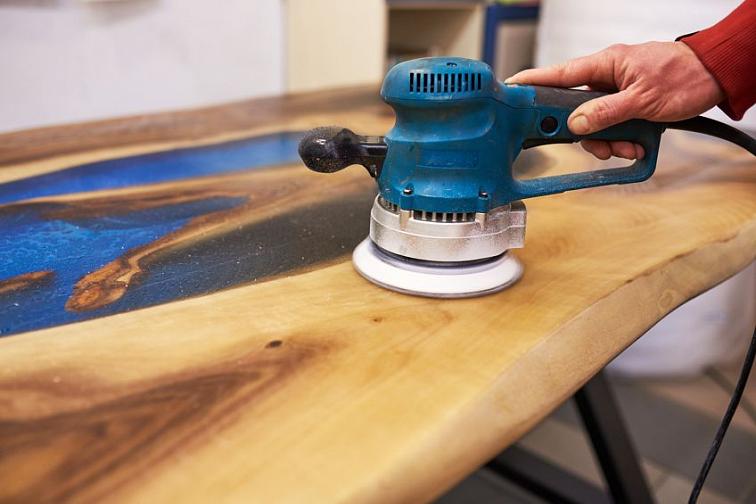
Sanding epoxy is one of the most critical steps in achieving a smooth, professional finish on your furniture. The exact sanding process depends on the final look and feel you're aiming for—whether you're finishing with oil, varnish, or a high-gloss polish. At Pigtail Studio, we always start by leveling our tables with a CNC machine, which ensures a flat, even surface. However, the CNC can leave visible scratches that need to be removed through sanding.
We begin with an 80-grit sandpaper to eliminate those deep marks and rough imperfections. From there, we gradually move through finer grits to refine the surface:
- 80 grit – Removes CNC scratches and levels the surface
- 120 grit – Smooths out roughness left from the 80 grit
- 150, 180, 240 grit – These steps remove finer scratches and prepare the surface for detail work
- 320 and 400 grit – Final sanding stages for the minimum criteria before choosing our finish
Important technique note: Between each sanding stage, it is essential to thoroughly clean the surface and remove all dust particles. This prevents grit from the previous sanding stage from scratching the surface again. Use a soft, clean cloth or compressed air to wipe away dust, and clean your sander and sanding pad before switching to the next grit.
When moving from one grit to another (e.g., from 80 to 120), make sure to completely remove the scratches from the previous grit. Don’t rush—go over the surface at least 3 to 4 times thoroughly. Start with a horizontal sanding pattern, then switch to a different direction (diagonal or vertical) to catch all areas evenly and avoid pattern marks. This method ensures a smooth, consistent finish without uneven spots or swirl marks. mark the surface with a pencil. These marks act as visual guides—once you begin sanding, the goal is to remove all the pencil lines. If any marks remain, it means you haven't fully covered that area.
Why are we called Pigtail Studio? You might have noticed our unusual name—well, it comes from a common sanding defect called a pigtail. A pigtail is a visible swirl or loop pattern caused by improper sanding: not removing previous grit scratches, skipping proper surface cleaning, or using a dirty sanding pad. These defects can ruin the beauty of an epoxy surface. At Pigtail Studio, we chose this name intentionally to mock the defect—because you will never see a pigtail on one of our tables. Our craftsmanship ensures a flawless finish every time.
Bonus sanding tip: When sanding wood—especially in the early grit stages—lightly spray water on the surface before moving to the next grit. This causes the wood fibers to rise and opens up the grain. Wait until the water fully evaporates, allowing the grain to lift, then sand it down again with the same grit. This technique helps remove raised fibers early on, leading to a smoother finish overall and ensuring that each grit level works more effectively. It also improves how evenly your final finish will be absorbed into the wood.
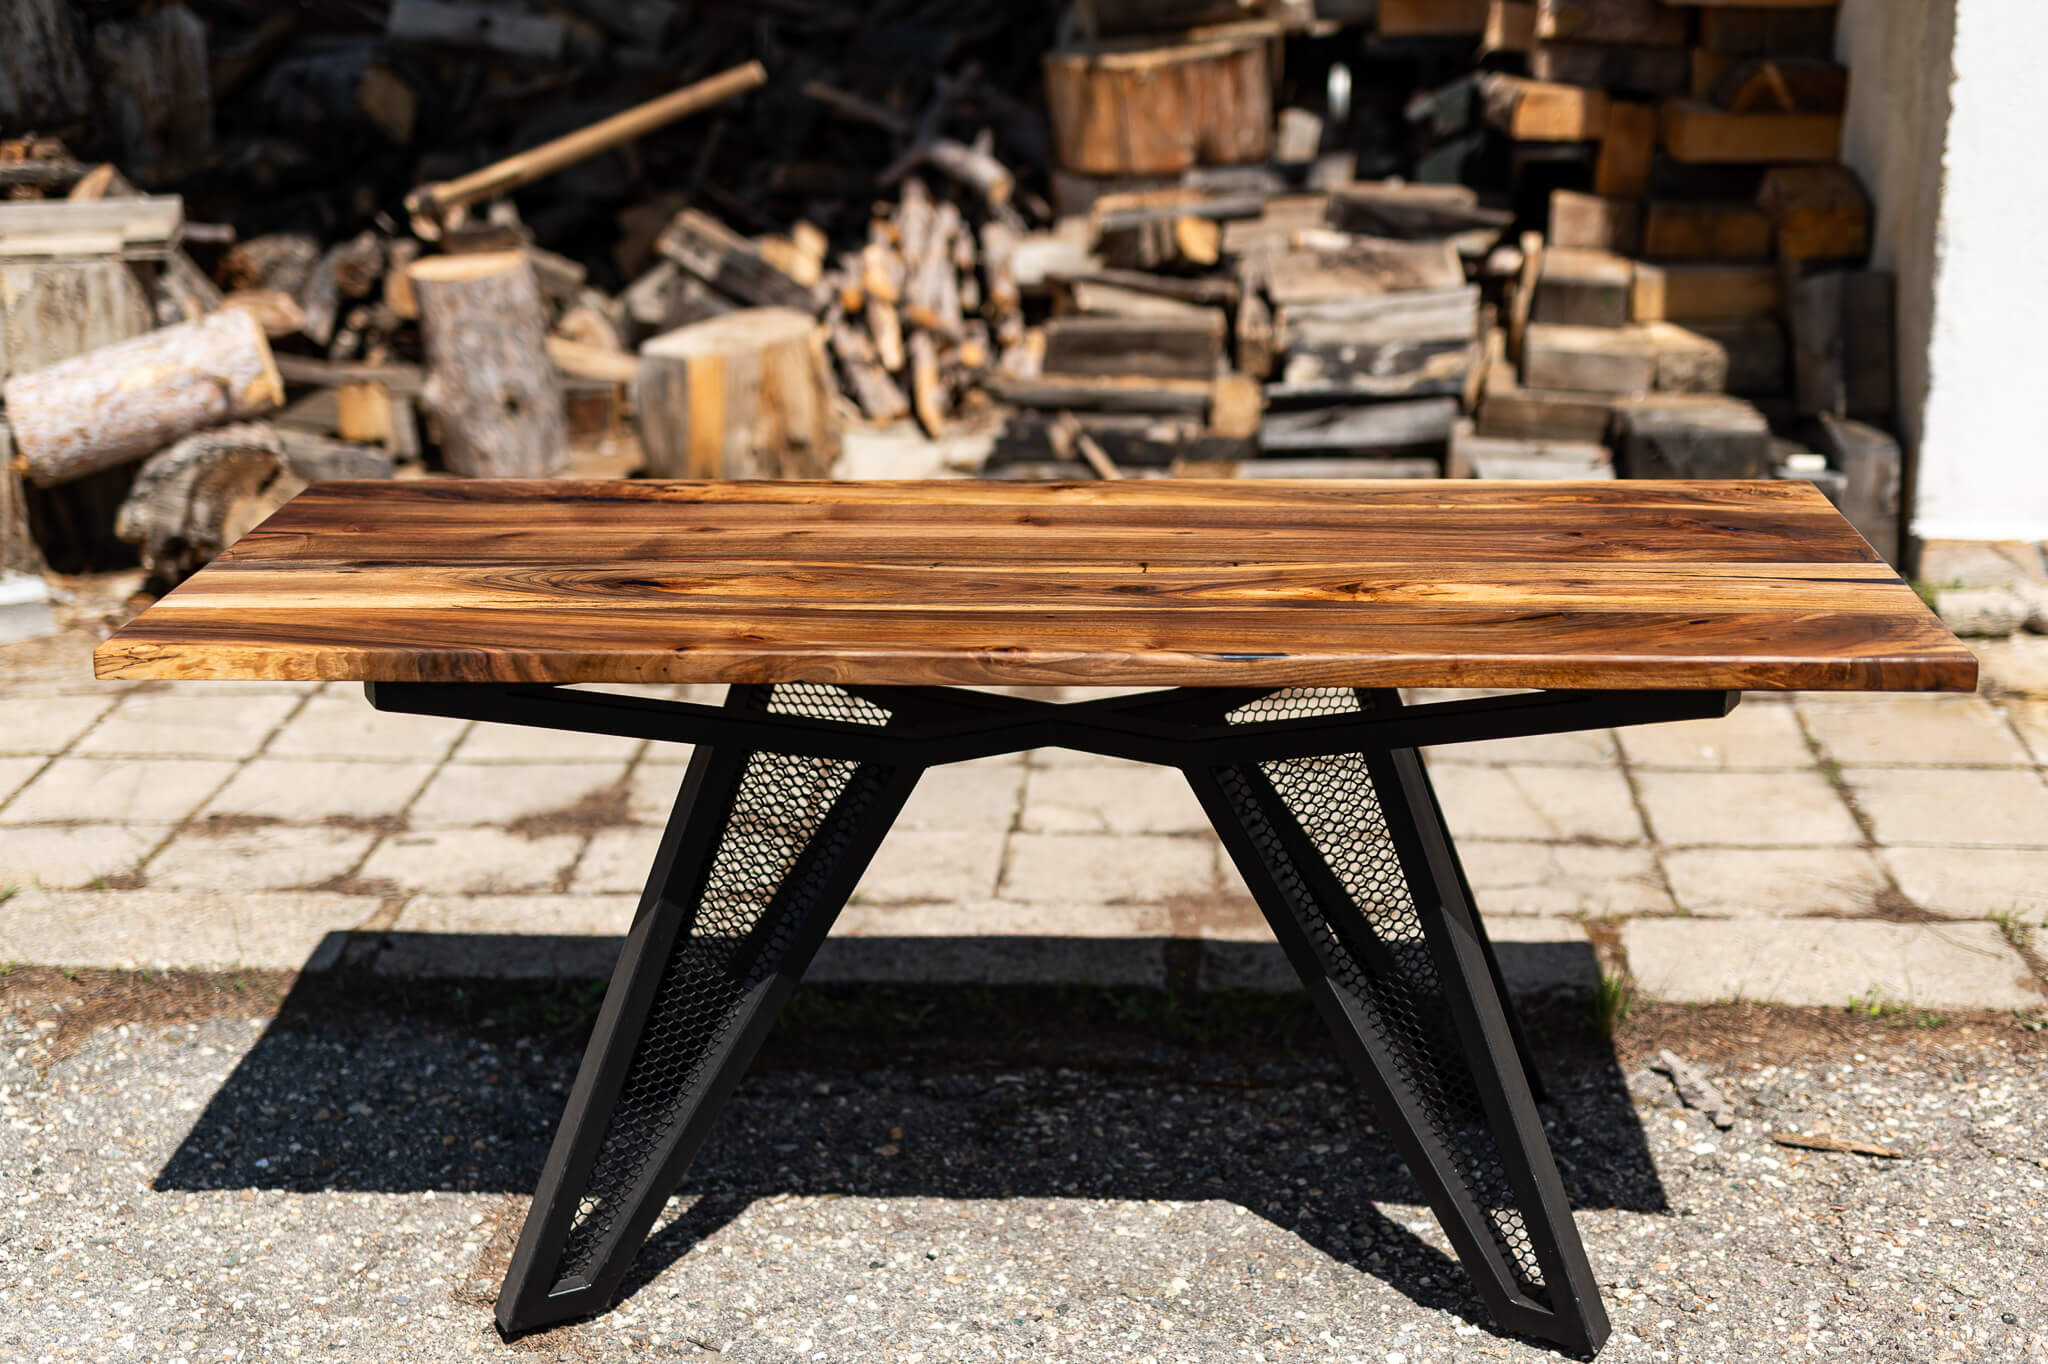
If you're finishing the table with wood oil, we stop sanding at 400 grit. This grit level provides the perfect balance between smoothness and slight wood grain texture, which allows the oil to penetrate effectively. Learn more about oil finishes in this guide.
Sanding for a Varnish Finish
Planning to finish your epoxy furniture with varnish? In that case, we take sanding even further—up to 1000 grit. This ultra-smooth surface allows the varnish to sit perfectly flat and deliver a glossy, glass-like appearance. It also ensures the protective coating bonds properly for maximum durability. You can read more about this in our maintenance blog here.
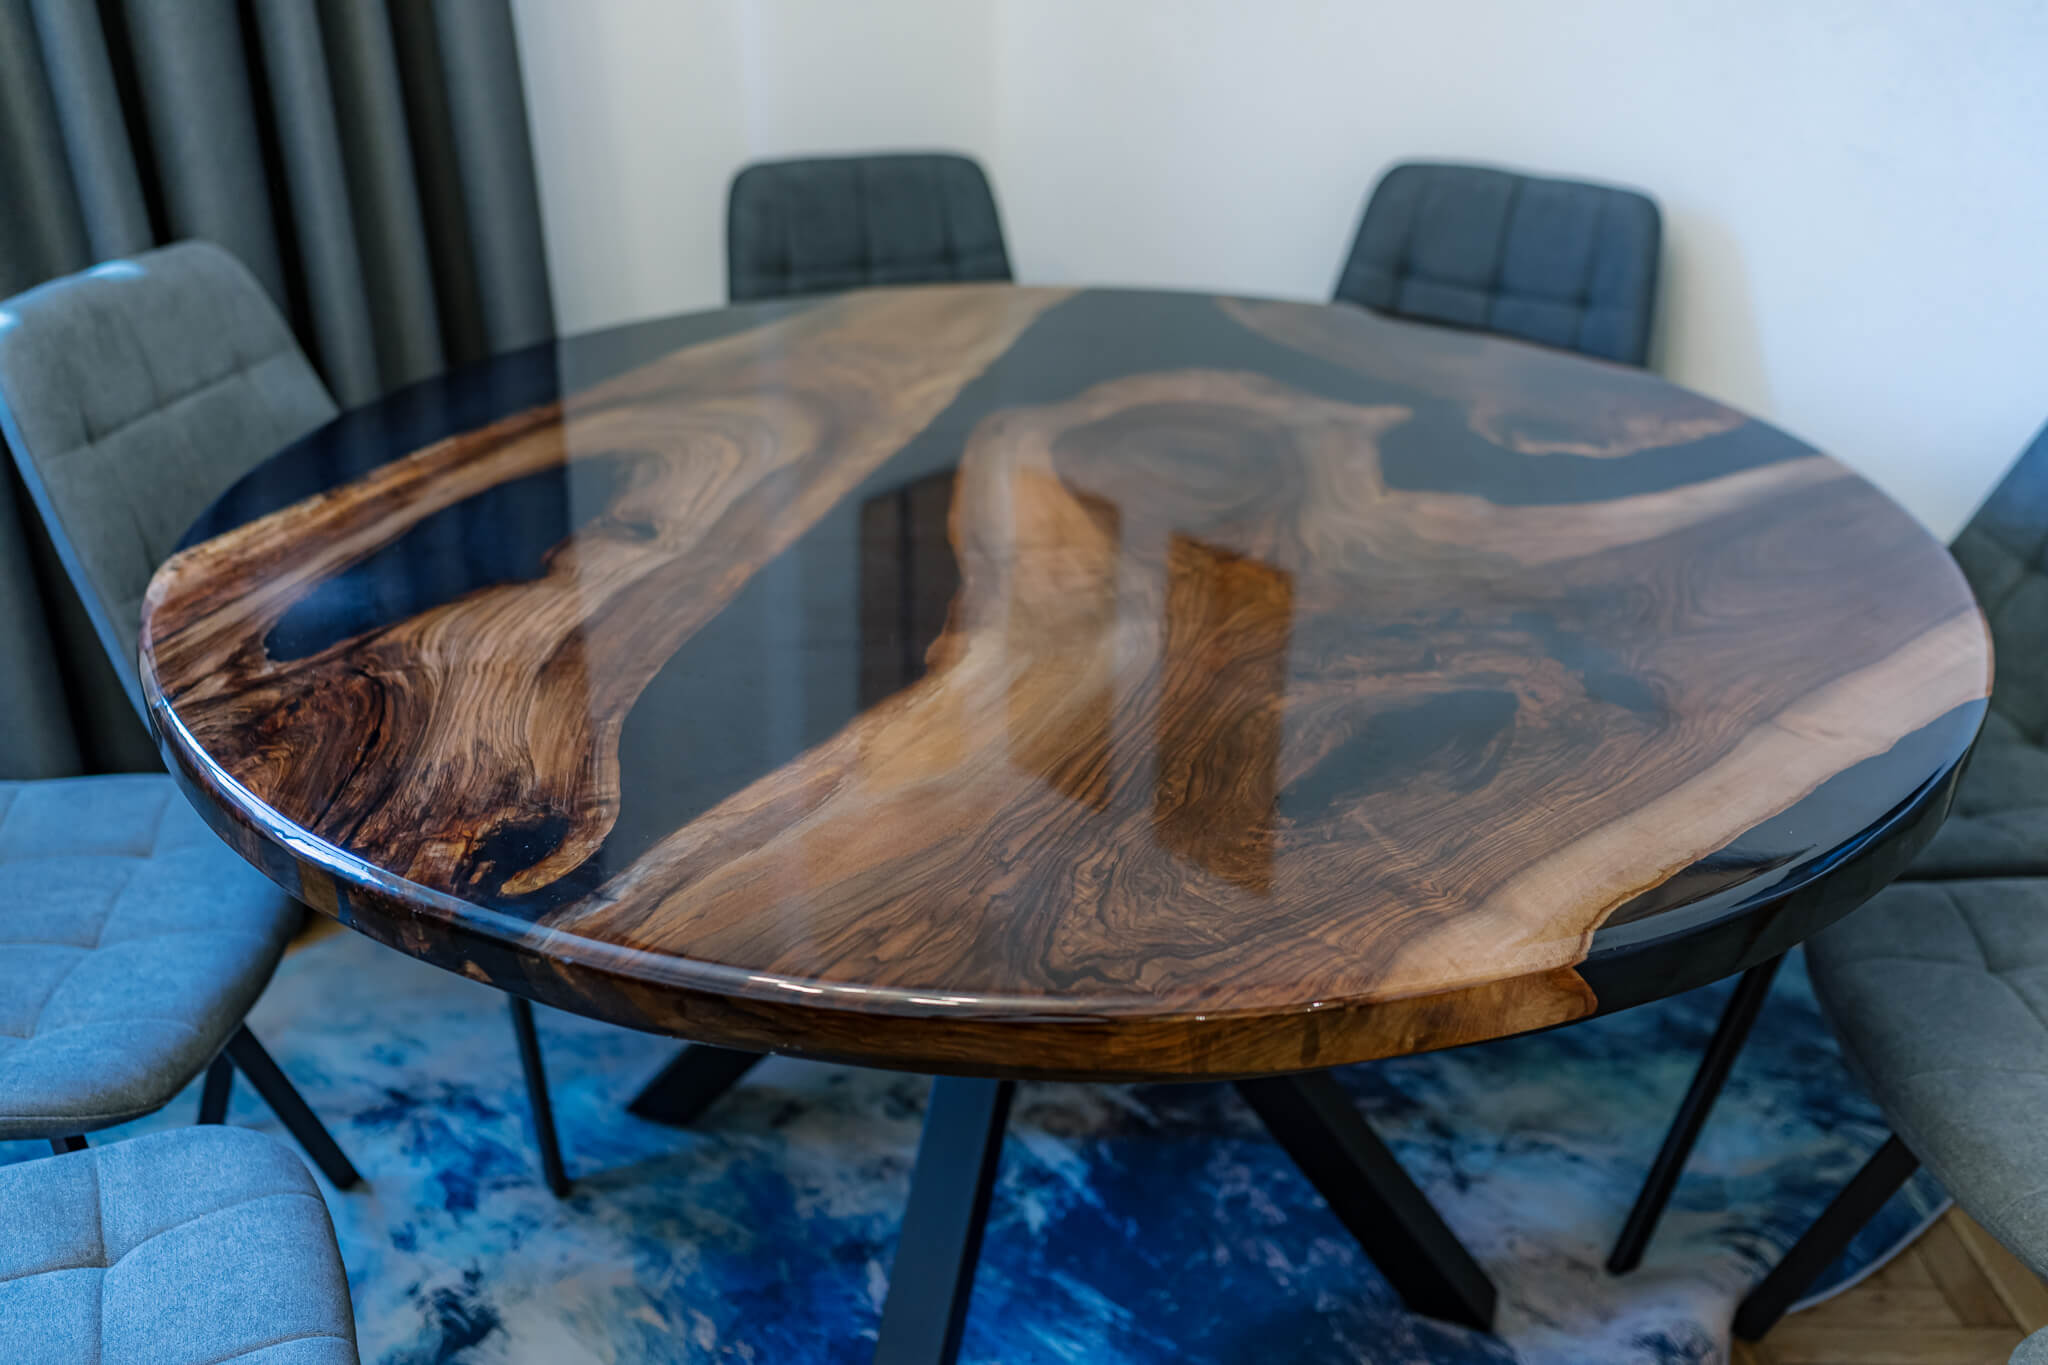
Sanding for a Polished Finish
For a high-gloss, showroom finish with maximum shine, the surface must be sanded all the way up to 4000 grit. This creates a mirror-like smoothness, ideal for polishing. After reaching 4000 grit, we use a three-step polishing process using a high-quality polish paste:
- Polish Level 1 – Removes micro-scratches and haze
- Polish Level 2 – Brings out clarity and deeper shine
- Polish Level 3 – Buffs to a final ultra-gloss finish
Each polish level should be applied with a soft pad using smooth circular motions—either by hand or with a rotary buffer. Be patient and methodical, as polishing is a process that rewards careful work with brilliant results.
By mastering the sanding and polishing process, cleaning carefully between steps, and using smart techniques like water spraying and alternating sanding directions, you’re not just preparing your epoxy furniture for the best possible finish—you’re preserving its craftsmanship and beauty for years to come.